This Woocommerce Zoho Accounting Integration plugin allows you to create invoices in Zoho for your Woocommerce orders automatically. Payment, shipping, discount and tax calculation information are also synchronized.
Plugin Installation
- Purchase and download the plugin .zip file from your account or your email.
Product URL: https://codekiwi.net/product/integrate-woocommerce-zoho-books/ - Go to: WordPress Admin > Plugins > Add New and Upload Plugin with the file you downloaded with Choose File.
- Install Now and Activate the plugin.
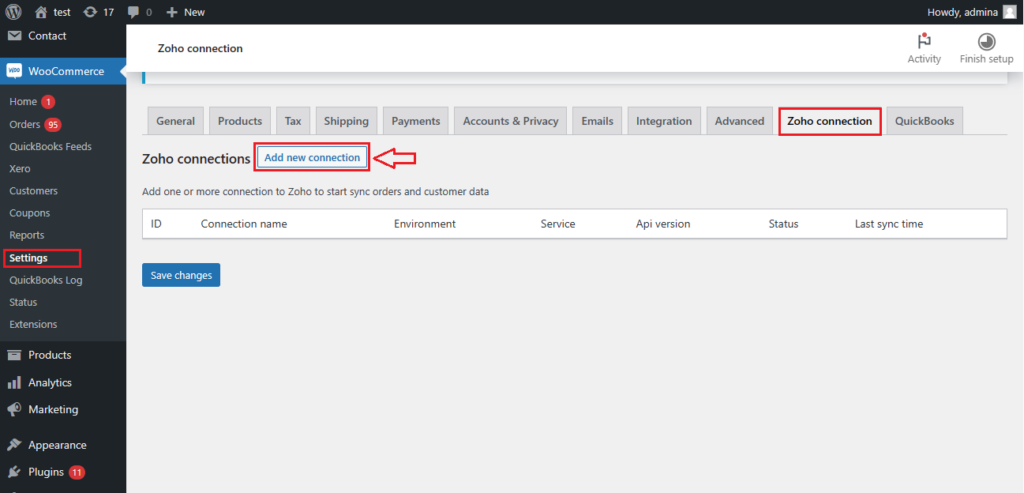
Create connection from Woocommerce to Zoho books
Go to WooCommerce > Setting > Zoho and click “Add new connection”
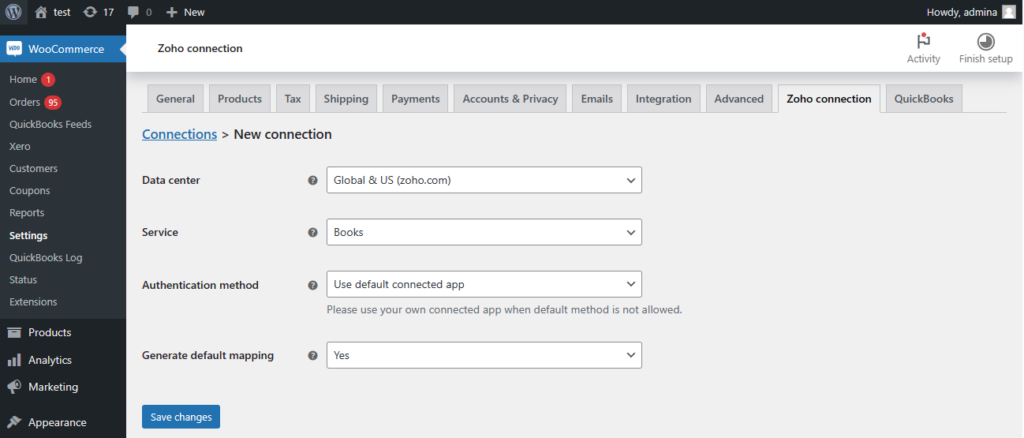
Fill out your connection detail and click “Save change”
- Data center: Zoho books is hosted at multiple data centers over the world, so you have to choose the right one. Ask zoho for help if you don’t know what data center where your zoho books is hosted.
- Service: Leave as default.
- Authentication method: Leave as default. If you prefer to use your own connected app, please select “use your own connected app” and then fill out your client id and client secret.
- Generate default mapping: Leave as default.
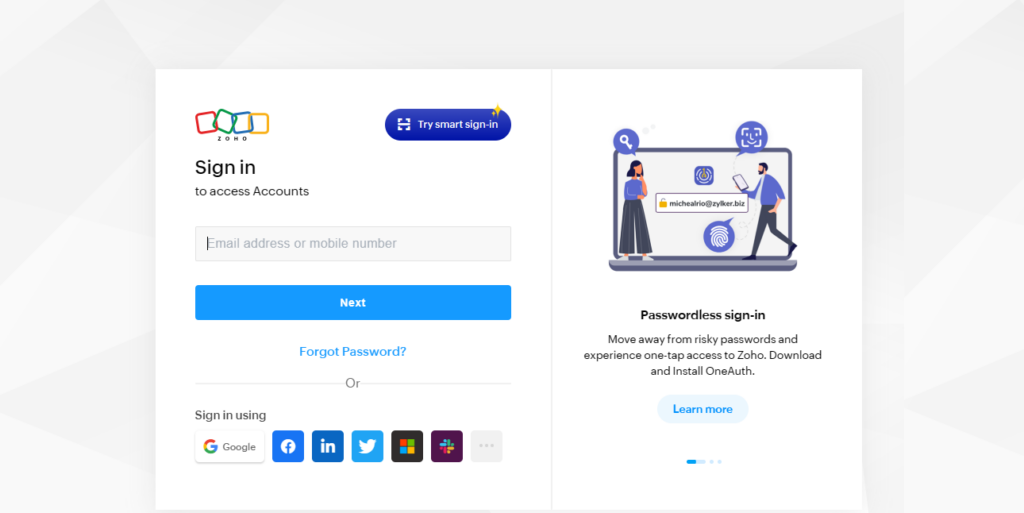
Fill your Zoho administrator account and login:
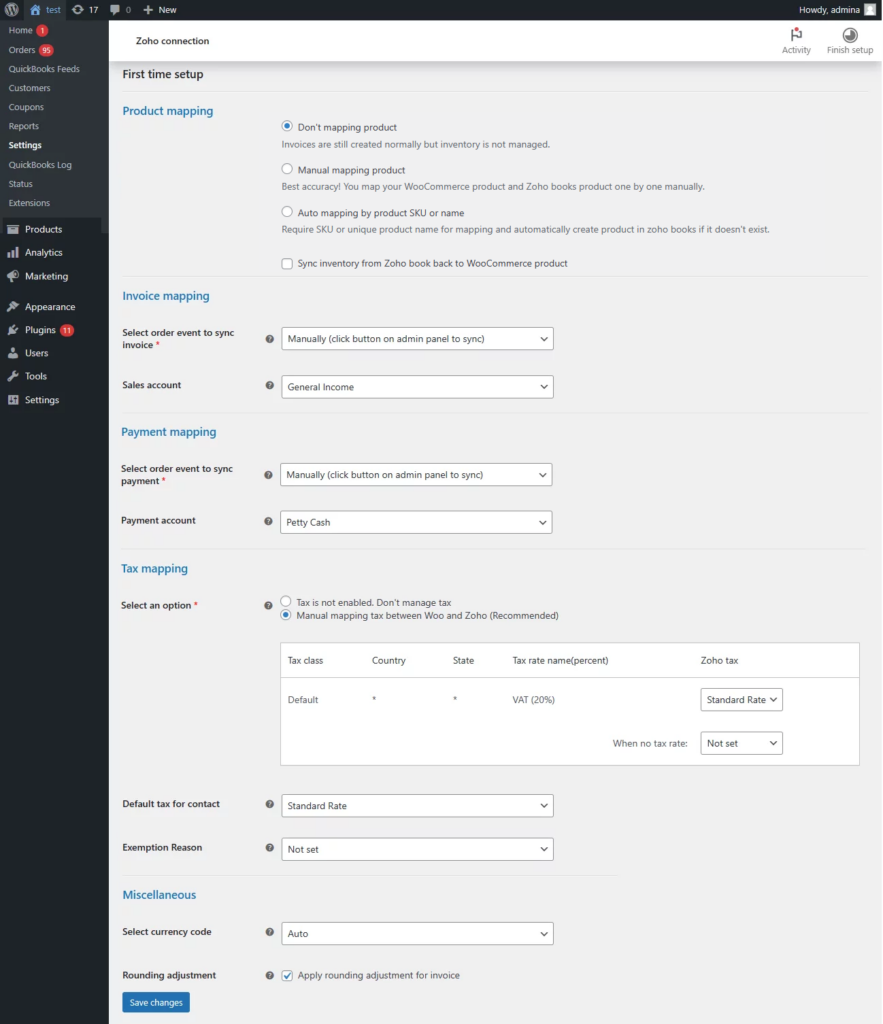
You will be redirected to mapping setting screen:
Product mapping:
- Don’t mapping product: Product isn’t sync to Zoho books. Zoho invoices is still created normally, but they won’t be linked to Zoho items. This is the best option if you don’t need to manage inventory and stocks.
- Manual mapping product: Map your WooCommerce product and Zoho books item one by one manually. This option is suitable if your product doesn’t have a SKU and can’t be mapped, automatically
- Auto mapping by product SKU or name: Mapping WooCommerce product and Zoho item by SKU or name. Automatically create Zoho items if the product doesn’t exist in zoho books. This option is suitable if all of your product have SKU or unique product name.
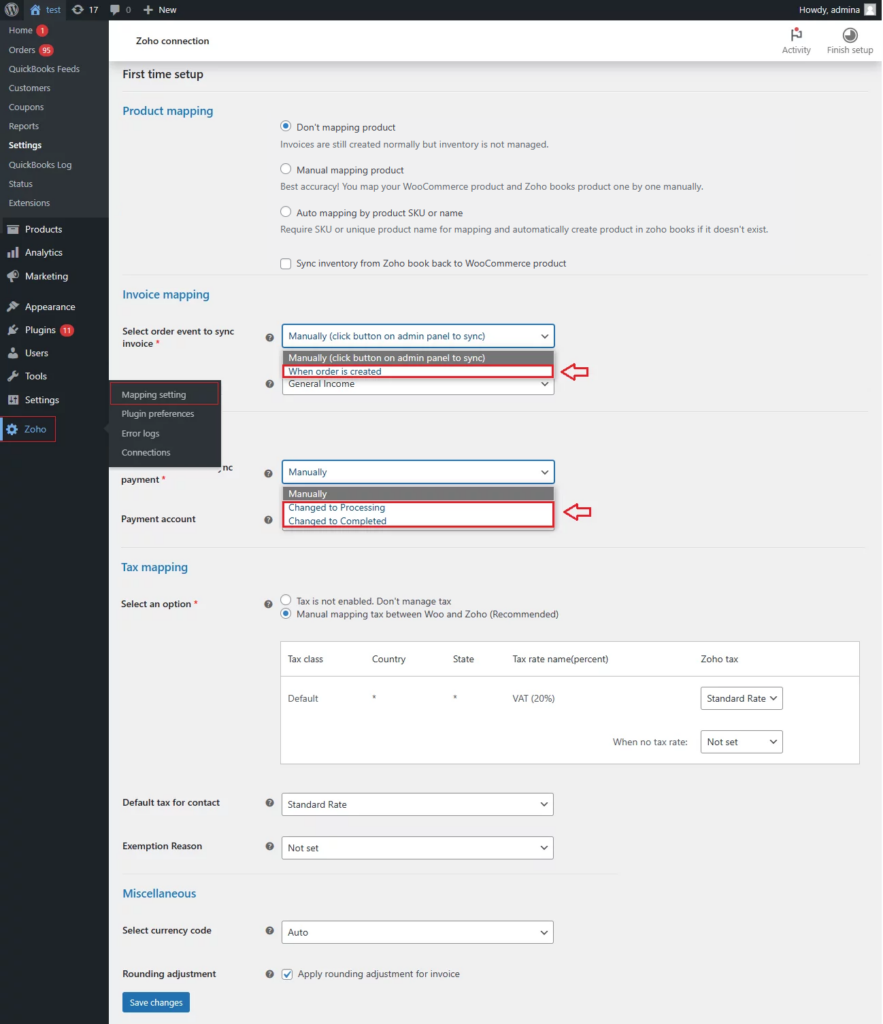
Invoice setting:
- Select order event to sync invoice: Select manual or automatic invoice sync mode.
- Sales account: Select Zoho account to collect sales.
Payment setting:
- Select order event to sync payment: Select manual or automatic payment sync mode.
- Payment account: Select account to collect payment for your order.
Tax mapping:
- If tax rates is not enabled on your store, please select “Don’t manage tax” option.
- If tax rates is enabled, please select “Manual mapping tax between Woo and Zoho” and then map tax rates manually between Woocommerce and Zoho.
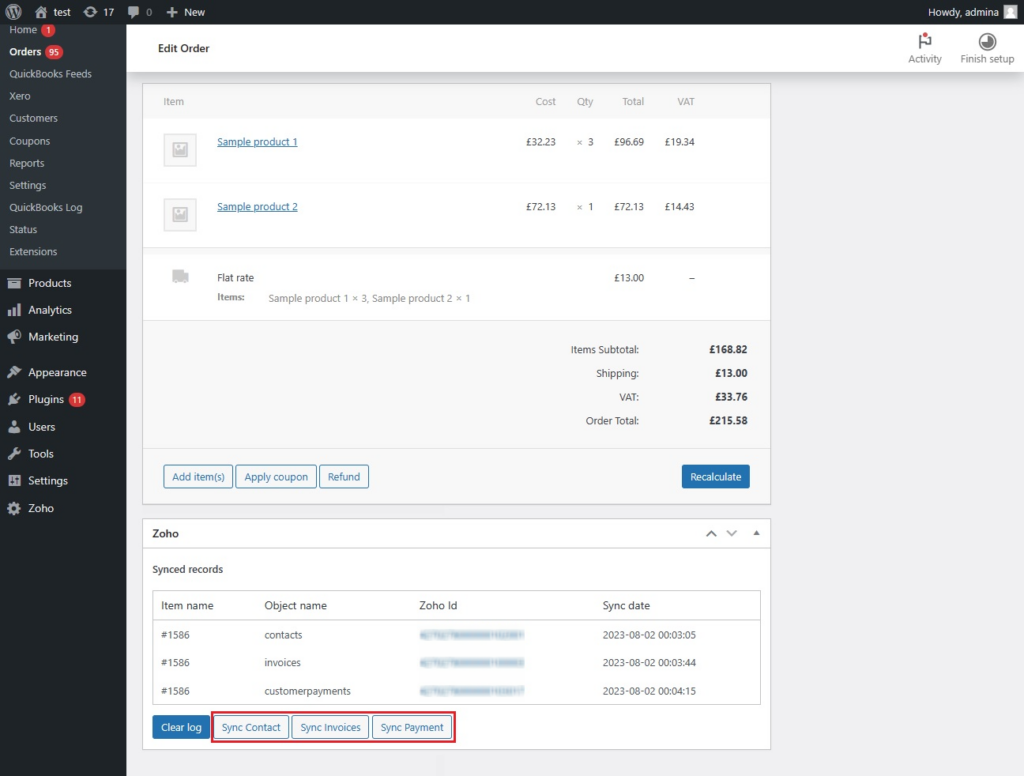
Manual sync mode
In the order details screen, press the “sync contact” button and then press the “sync invoice” button to send the invoice to Zoho. Press the “sync payment” button to send payment to Zoho.
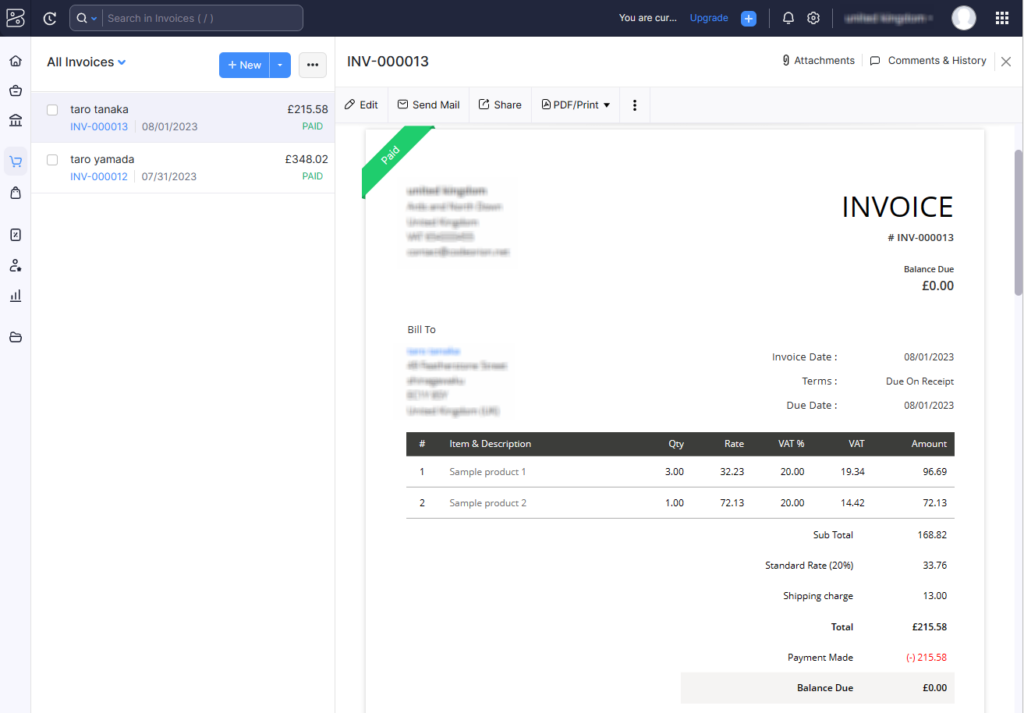
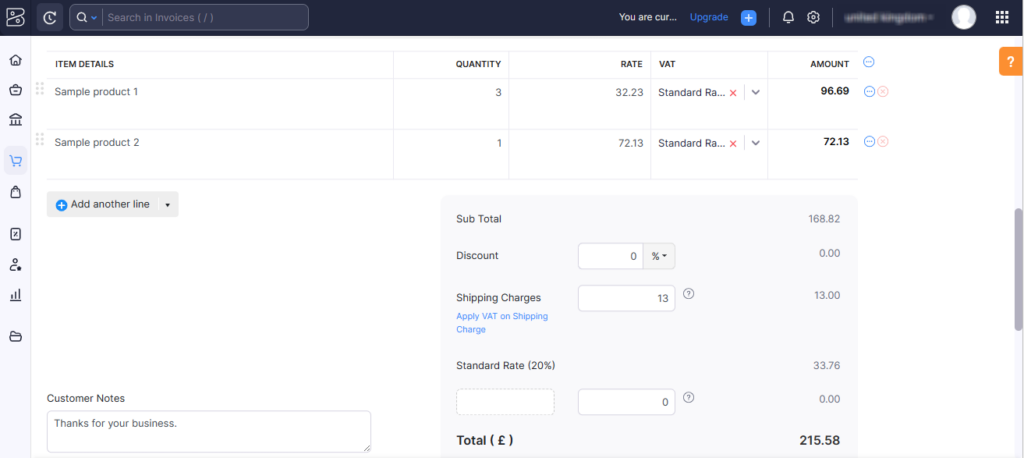
Here is the corresponding result on Zoho:
Automatic sync mode
To change from manual sync to automatic sync, go to: Zoho > Mapping setting, on the “Select order event to sync invoice” and select event when automatic sync will be triggered. Then do the same with payment
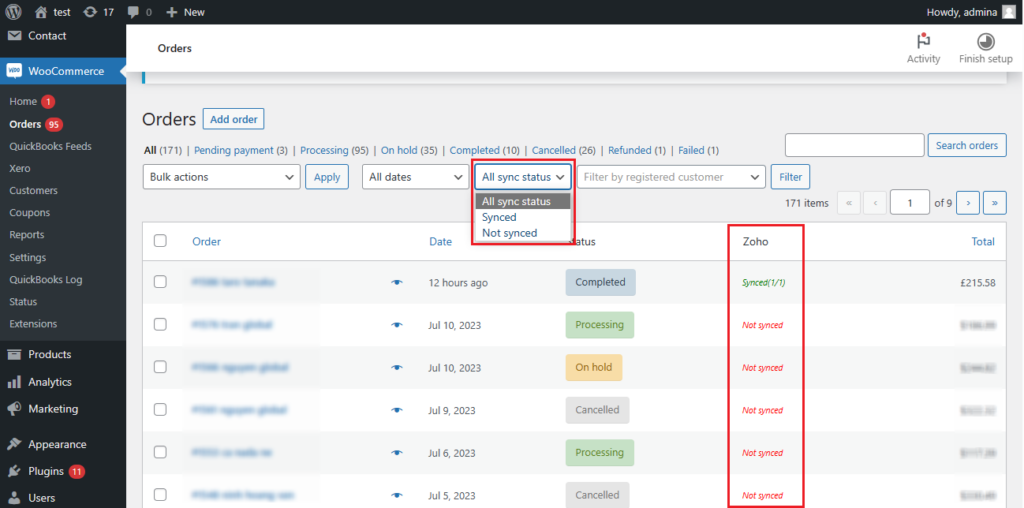
Filter by sync status
In the WooCommerce order list screen, a “sync status” column will be added to help you easily filter the order list by sync status
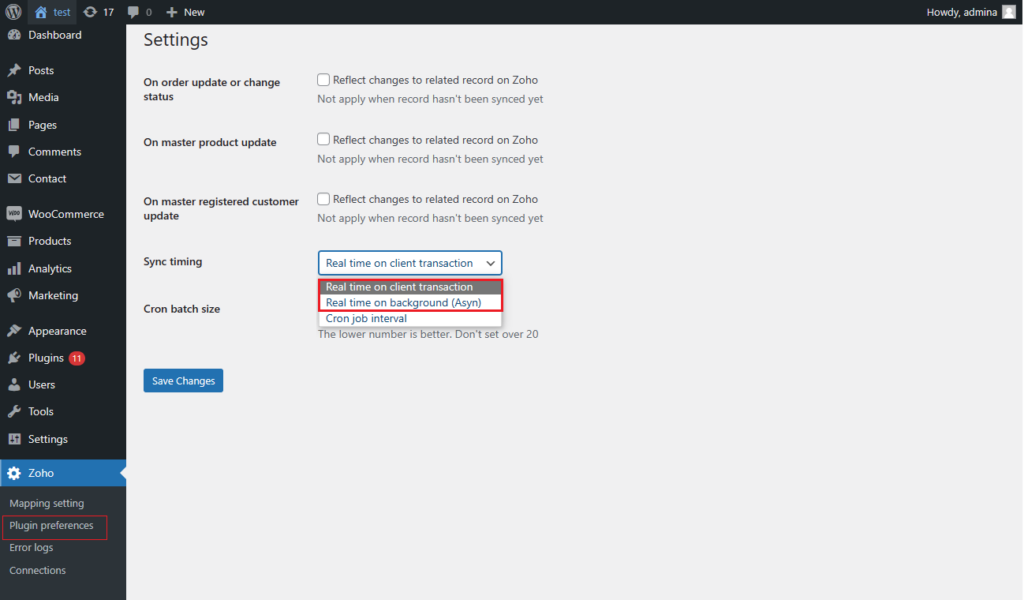
Realtime and background sync mode
- Real time on client transaction: Run on same user request
- Real time on background: Run async on background
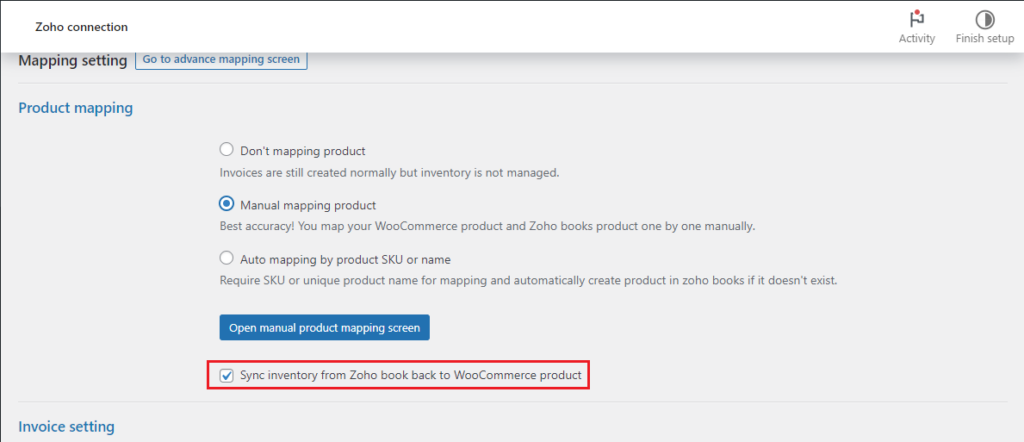
Sync stock quantity from Zoho books back to WooCommerce
Please check the checkbox “Sync inventory from Zoho book back to WooCommerce product” if you want to sync item stock quantity from Zoho books back to WooCommerce product.
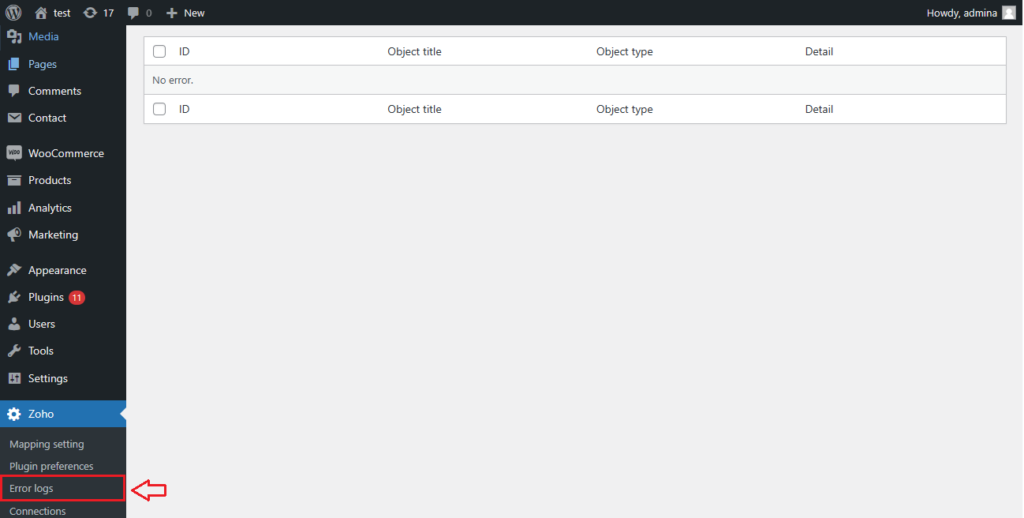
Error log
If error occurs, trace log will be display atError log screen.