1. Sage version and compatibility
This plugin works only for the Start, Standard and Plus tiers of the Sage Business Cloud Accounting. Supported locale:
- Accounting Plus: Canada, Germany,Spain, France, United Kingdom, Ireland, USA.
- Accounting Standard: United Kingdom, Ireland.
- Accounting Start: Canada, Germany,Spain, France, United Kingdom, Ireland, USA.
2. Plugin Installation
- Purchase and download the plugin .zip file from your account or your email.
- Go to: WordPress Admin > Plugins > Add New and Upload Plugin with the file you downloaded with Choose File.
- Install Now and Activate the plugin.
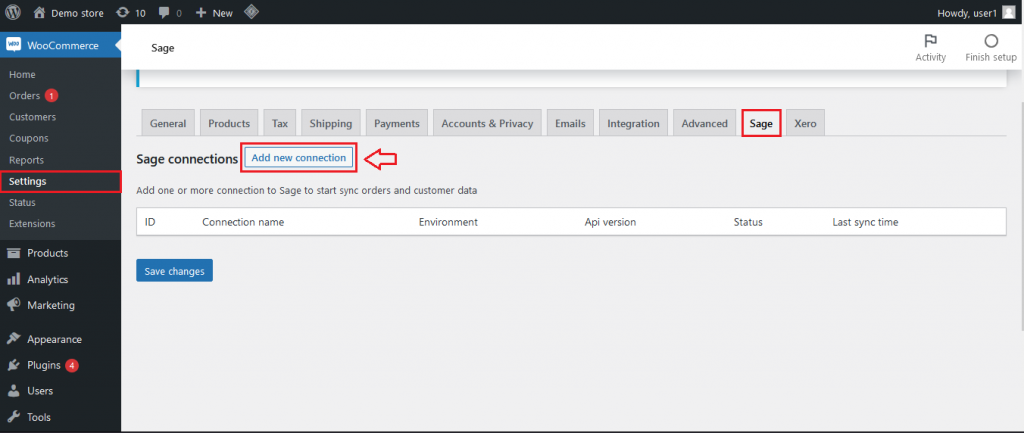
3. Create connection from Woocommerce to Sage one
Go to WooCommerce > Setting > Sage and click “Add new connection”
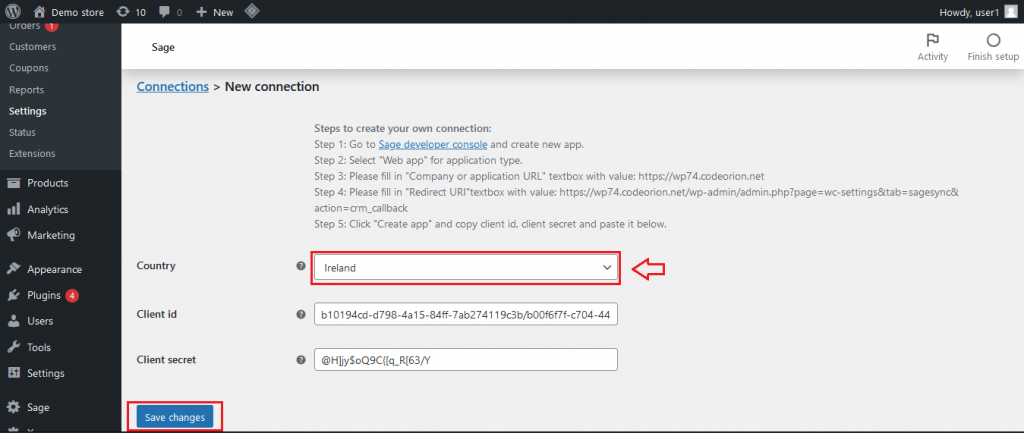
Select country where your business located and click “Save change”
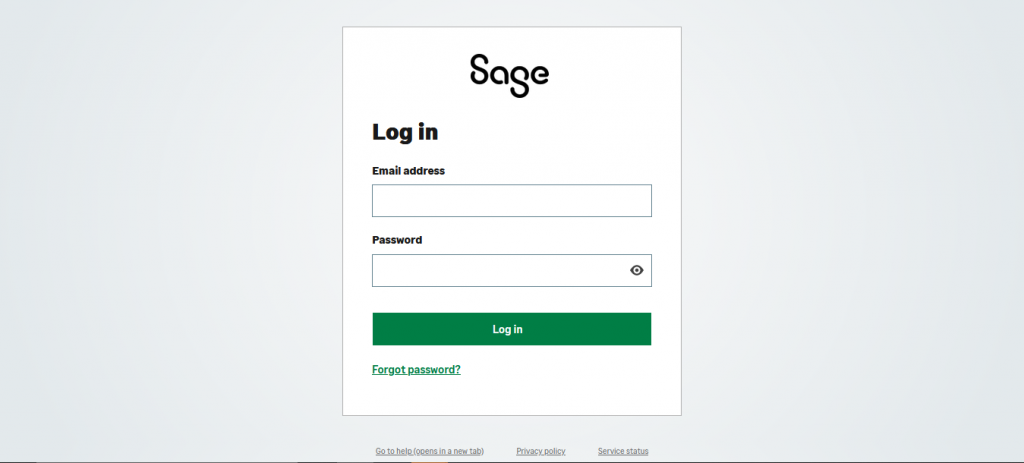
Fill your sage username and password:
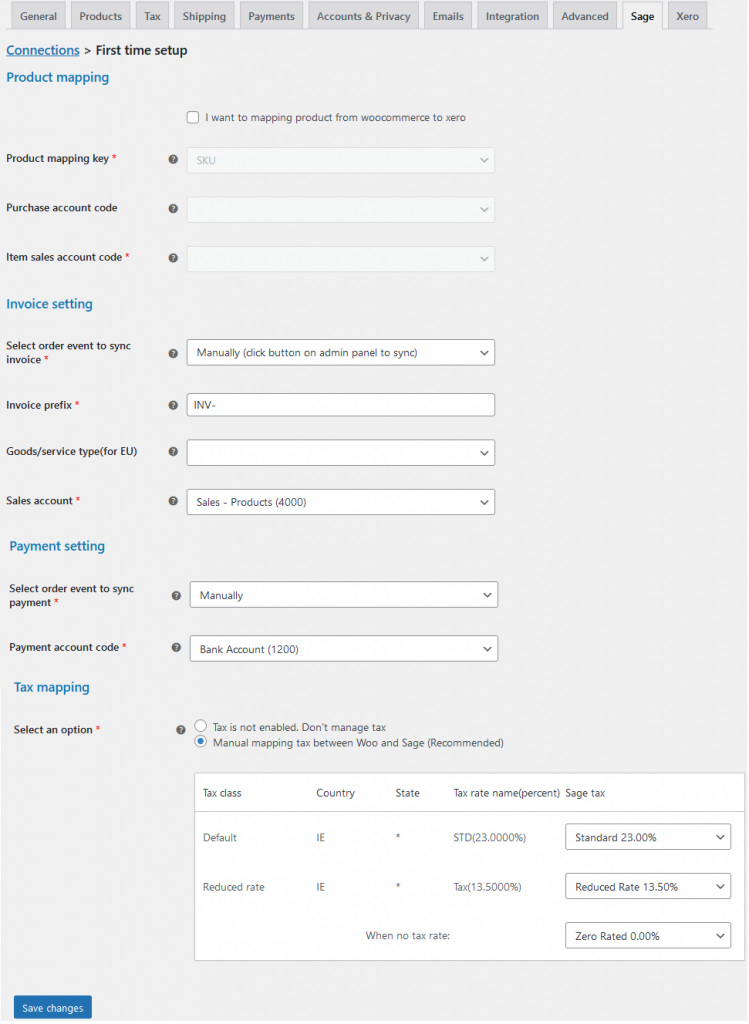
You will be redirect to mapping setting screen.
4. Mapping configuration
Product mapping: disabled by default.
By default, woocommerce product will not be mapped with sage. If you want to map the product, please tick the checkbox “I want to mapping product from woocommerce to sage”.
- Product mapping key: Use can select product SKU or product name for mapping.
Invoice setting:
- Select order event to sync invoice: Select manual or automatic invoice sync mode.
- Invoice prefix: Prefix for your Sage invoice.
- Sales account: Select Sage account to collect sales.
Payment setting:
- Select order event to sync payment: Select manual or automatic payment sync mode.
- Payment account code: Select account to collect payment for your order.
Tax mapping:
- If tax rates is not enabled on your store, please select “Don’t manage tax” option.
- If tax rates is enabled, please select “Manual mapping tax between Woo and Sage” and then map tax rates manually between Woocommerce and Sage.
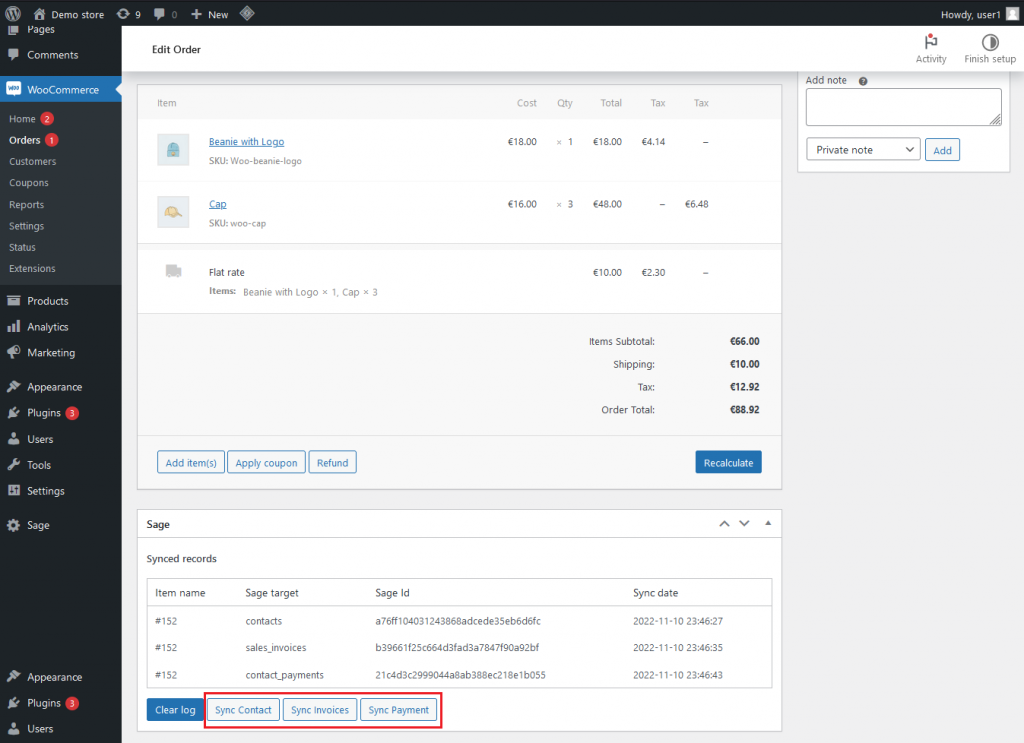
5.Manual sync mode
In the order details screen, press the “sync contact” button and then press the “sync invoice” button to send the invoice to sage. Press the “sync payment” button to send payment to sage.
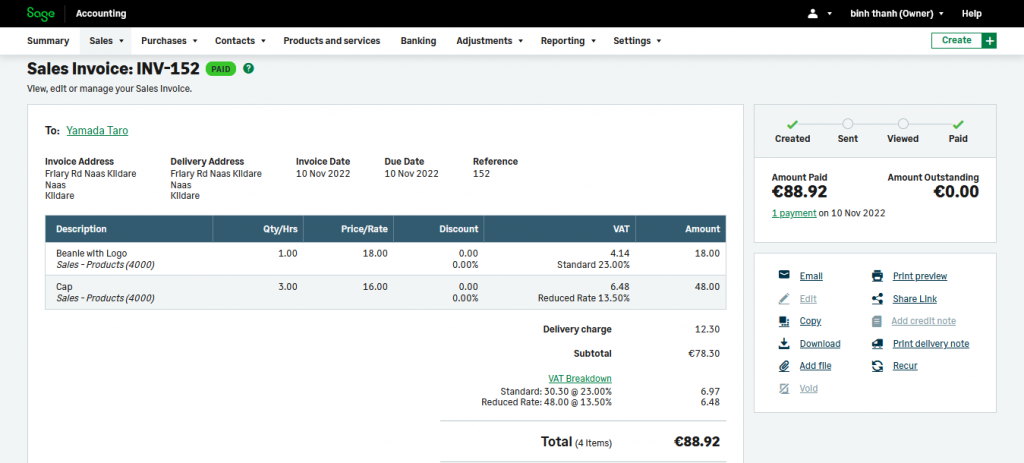
Here is the corresponding result on sage:
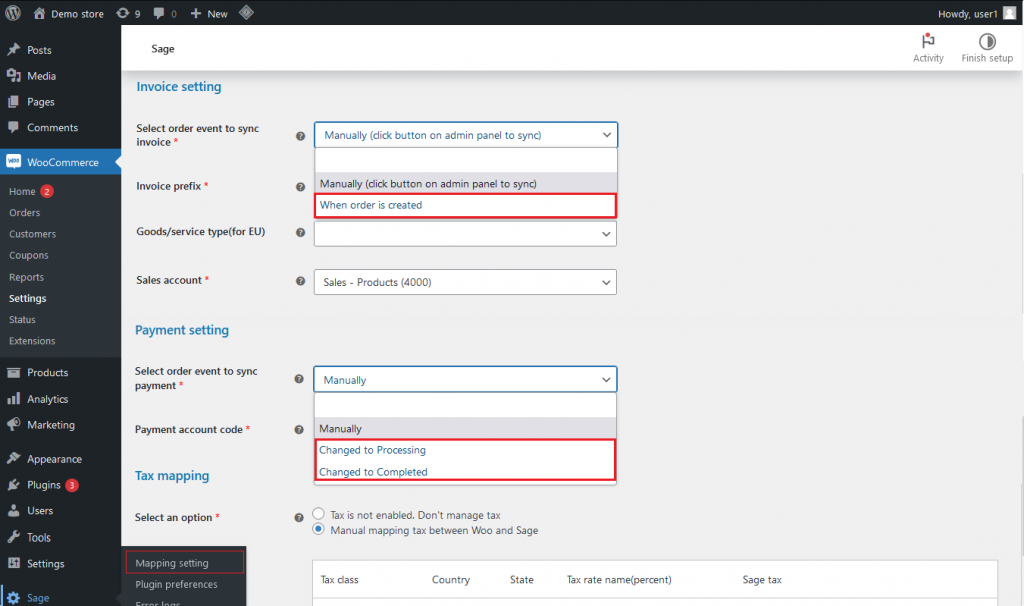
6. Automatic sync mode
Go to: Sage > Mapping setting, on the “Select order event to sync invoice” and select event when automatic sync will be triggered. Then do the same with payment
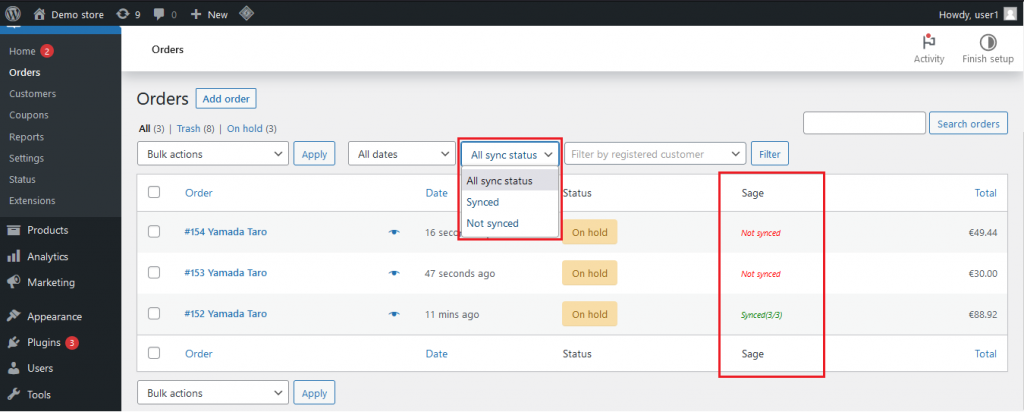
7. Filter order list by sync status
In the WooCommerce order list screen, a “sync status” column will be added to help you easily filter the order list by sync status
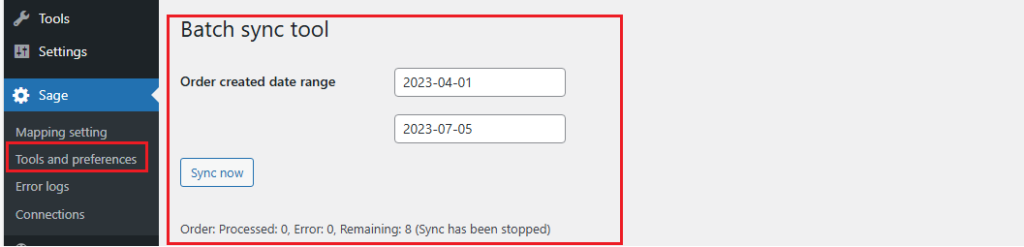
8. Batch sync history data
You’ll probably want to sync past orders from WooCommerce to Sage. Luckily, we have “batch sync tool” to help you solve it. Simply select the “order created date range” and click “Sync now” and you’re done.
9. Error log
If error occurs, trace log will be display atError log screen.

10. Support
We support customers who have valid licence through the ticket system or email.
- By ticket: https://codekiwi.net/my-account/customer-support-ticket/
- By email: contact@codekiwi.net